Leaf String Lights: A bright and easy fall DIY project
Lite up your domicile with these unproblematic foliage string lights! They are definitely a craft project that anyone can do, including your kids. In fact, this project involves one of my favorite craft supplies from when I was a child: shrinky dinks! Who remembers playing with those?? If y'all practice and so yous should definitely brand these leaf string lights.
 View in gallery
  View in gallery
  View in gallery
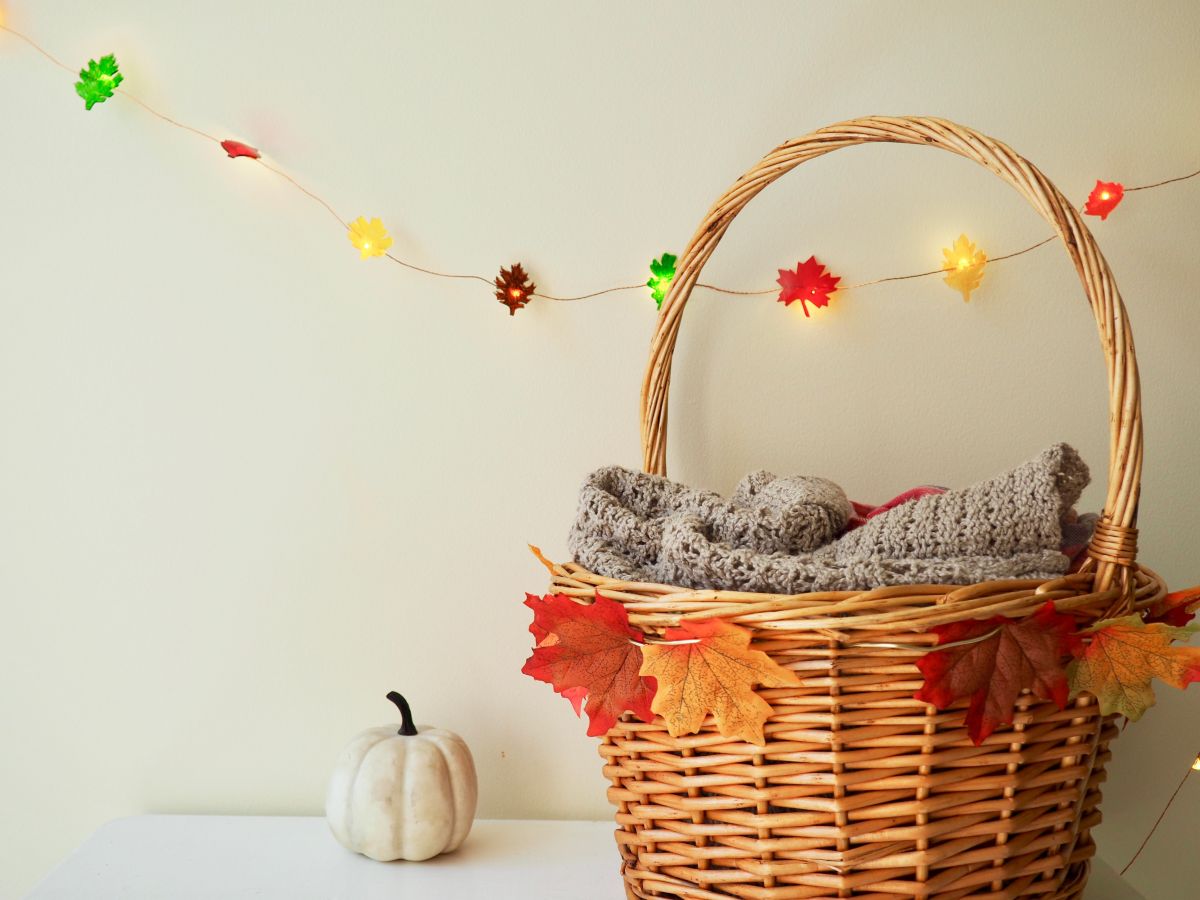
 They would look great hanging forth a mantel for a festive autumn experience. Or, you could hang these leaf string lights above your bed for a cozy temper. I hung my lights to a higher place my desk-bound then I can run across them when I work on writing blog posts!
 View in gallery
 Materials:
- Shrinky dinks
- Permanent markers (or colored pencils)
- Leafage stencil (or free hand a leaf pattern)
- Scissors
- Oven
- Parchment paper
- String lights
- Hot glue gun
How to make these leaf cord lights:
1. Commencement by either printing out or drawing a picture of a leaf. I traced one I found online and and then cutting it out to get a stencil just if you lot are a good drawer and then feel free to draw your own. Y'all volition want this ot be adequately big as information technology will shrink down in size. Mine was about 4 inches long.
 View in gallery
 ii. Trace your leaf onto your shrinky dinks film. Y'all can do this with either permanent markers or colored pencils. For a more than subtle color I would use colored pencil but for a more opaque colour go with markers. I used markers.
 View in gallery
  View in gallery
 three. Color your leaf in using either makers or pencil.
 View in gallery
 4. Cut the leaf out using scissors. The shrinky dinks motion-picture show tears easily once y'all put a cut in it then merely go slowly and don't make too deep of cuts.
5. Echo steps ane-4 with unlike leaves and colors.
6. Once yous have all of your leaves constructed it is time to shrink them in the oven. Preheat your oven to 275 degrees.
vii. Put down some parchment paper on a baking sheet and then put your leaves on top of it. Make sure none of them are touching. Put in the oven for two-3 minutes. You will want to watch your shrinky dinks every bit they will curl up and so lay flat again. Once they are all laying apartment so it is okay to accept them out of the oven. Let them absurd earlier you touch them.
viii. Taking your hot glue gun, put a pocket-sized speck of glue on the string light on either side of the low-cal. Identify your leaf on acme of the light and concur firmly until mucilage is stale. Go on to glue and add together leaves forth your string lights until a leaf is roofing every light.
9. Plug lights in and adore your handiwork!
 View in gallery
  View in gallery
  View in gallery
 Source: https://www.homedit.com/leaf-string-lights/
0 Response to "Leaf String Lights: A bright and easy fall DIY project"
Post a Comment